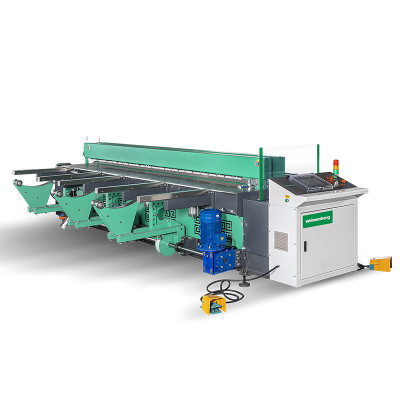
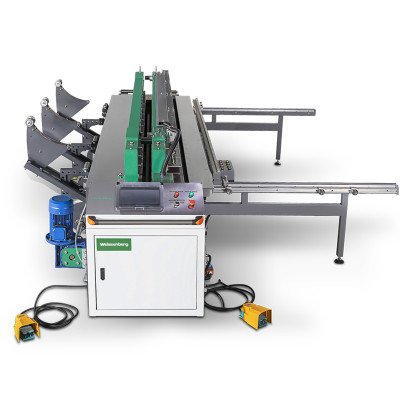
Inside an HDPE Chemical Tank Factory: The Complete Production Workflow
Last updated: July 2026. This guide explains how professional fabrication workshops organize the end-to-end production of HDPE chemical storage tanks — from incoming sheet inspection to final shipment — covering each process station, its purpose, and how overall quality and consistency are maintained across the production line.
What is this guide about? While there is plenty of technical content on individual welding parameters, material selection, and DVS compliance (linked throughout this article), this guide takes a wider view: how does a fabrication shop structure its production line to consistently deliver quality tanks? We cover the typical process flow, each station's role, the production planning that connects them, and the quality control system that holds everything together.
Key takeaway: A well-organized HDPE tank production line follows a consistent six-station workflow — material receiving and inspection, cutting and edge preparation, butt welding of panels, bending of corners, assembly and detail welding, and final testing. The difference between shops that produce reliable tanks consistently and those that struggle is not about having expensive equipment — it is about process discipline, operator training, and systematic quality control at every station.
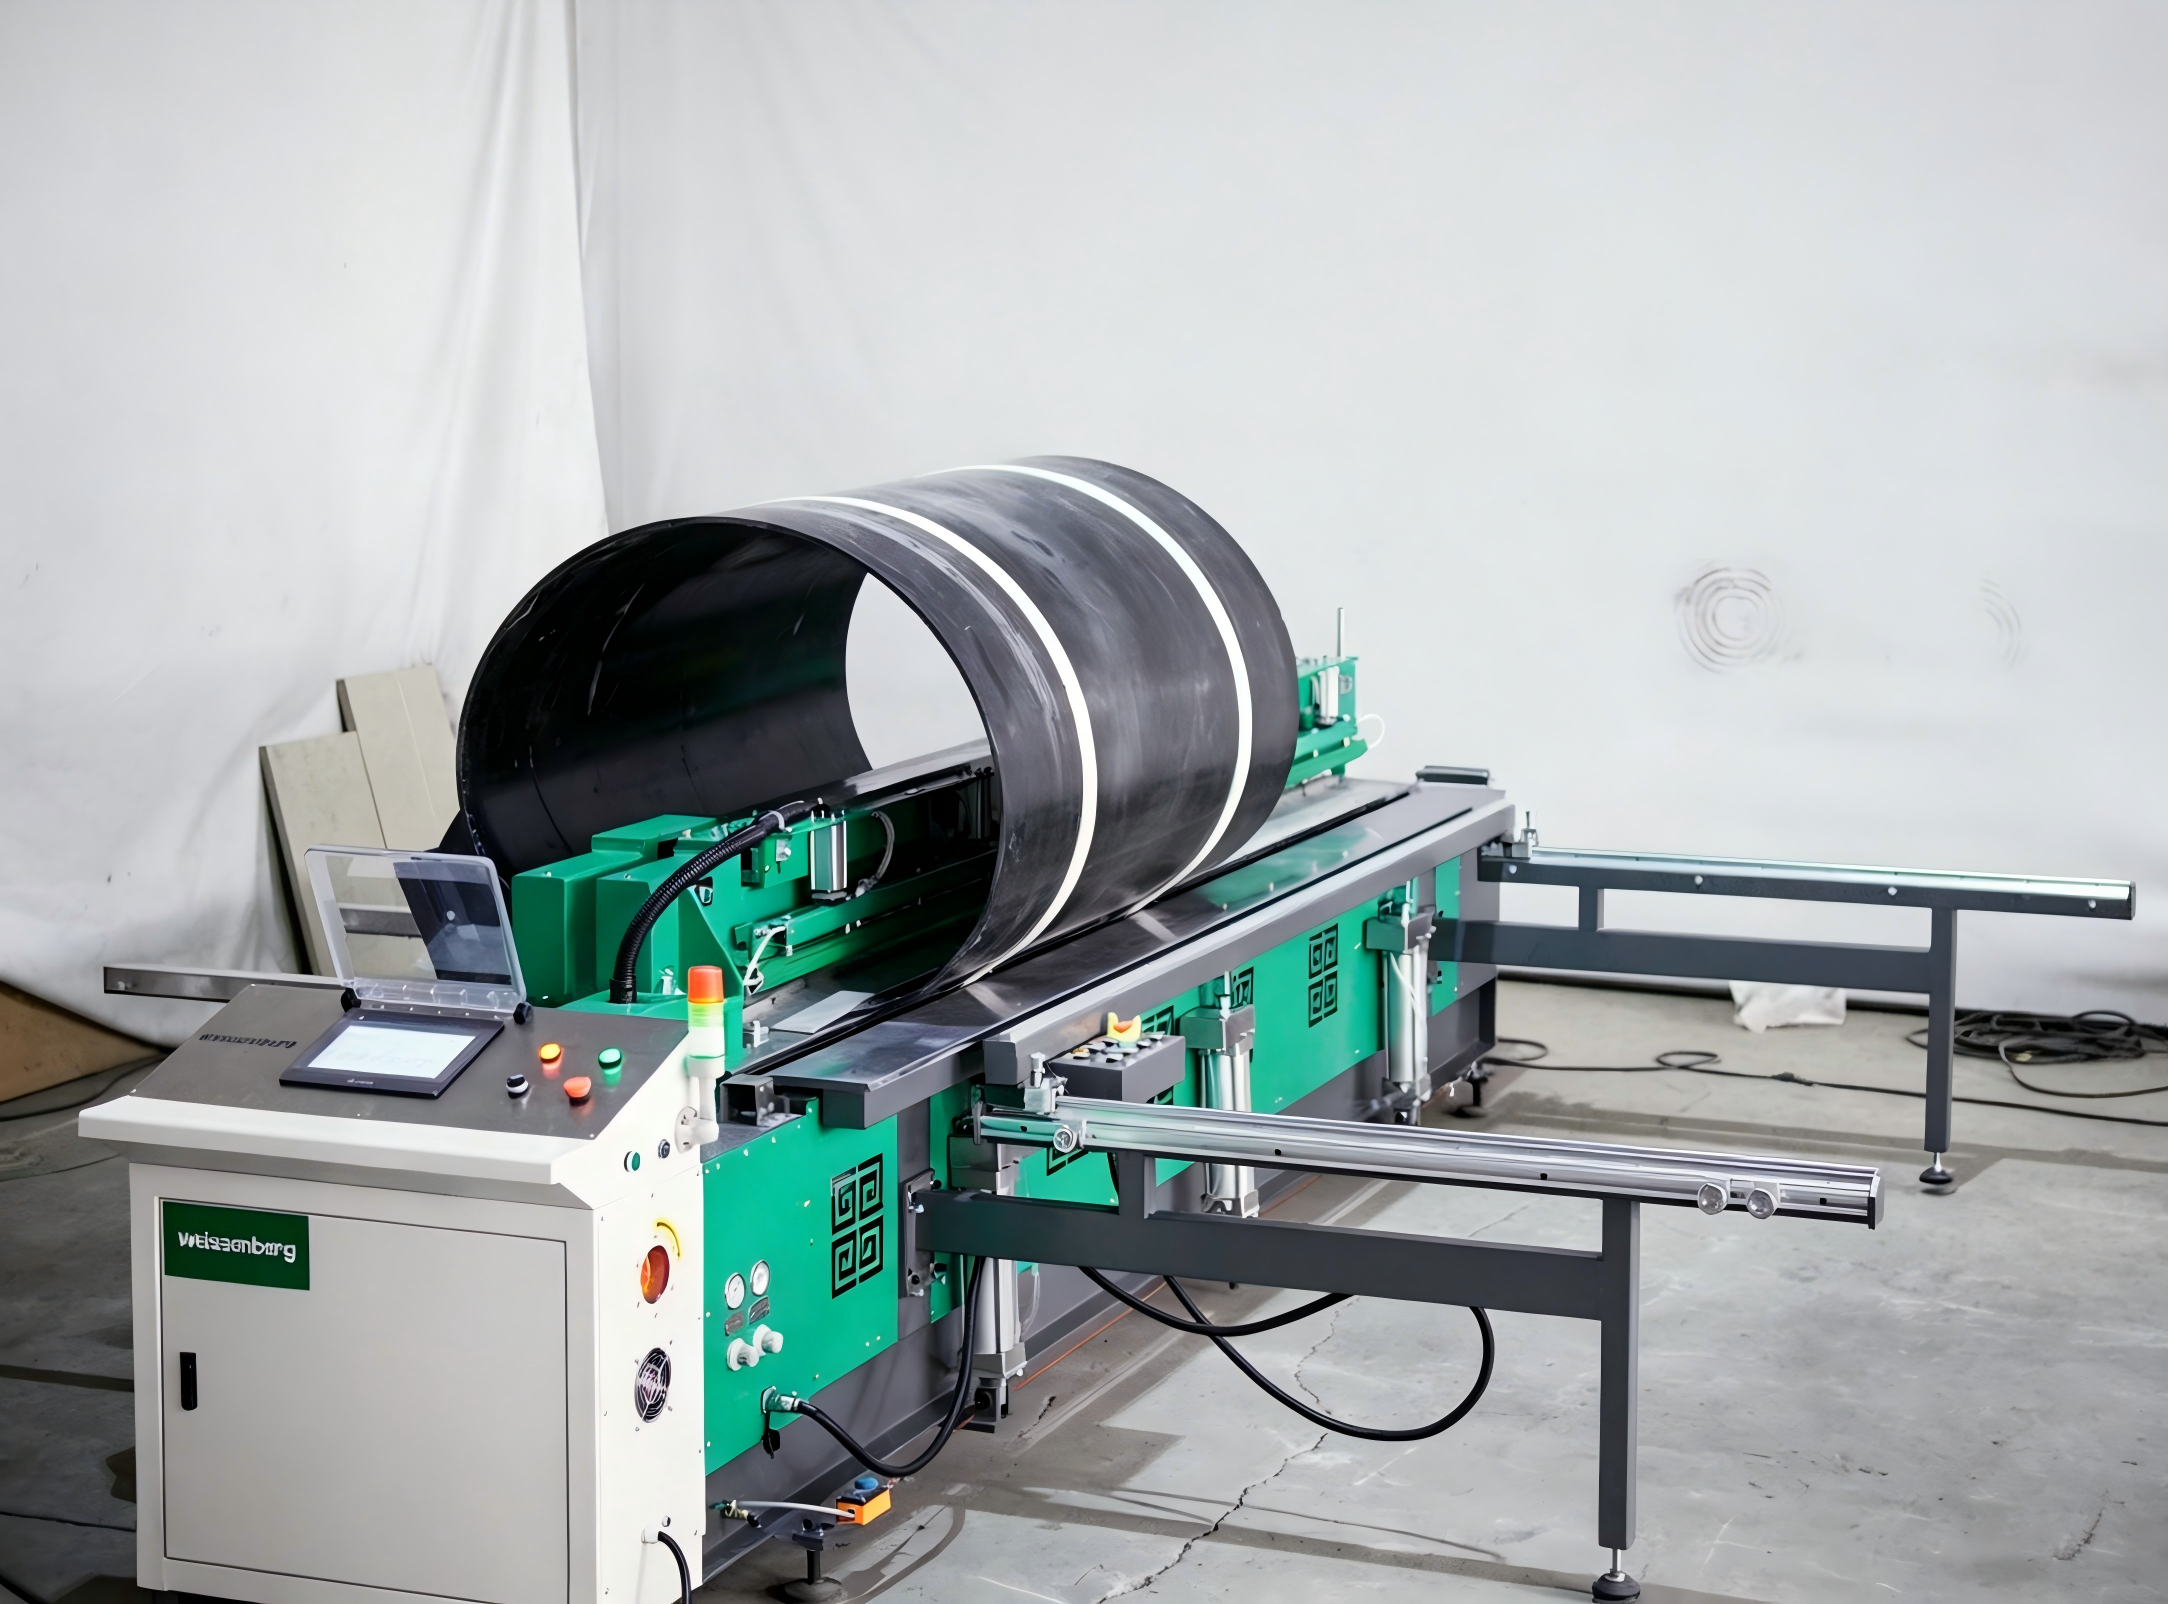
Production Line Overview: The Six-Station Workflow
A typical HDPE tank fabrication workshop is organized into six sequential stations. Each station has a defined input, process step, output, and quality check point. Material flows in one direction — from raw sheet to finished tank — minimizing backtracking and handling damage.
Station 1: Material Receiving & Storage
Input: HDPE sheets from supplier
Process: Incoming inspection, material grade verification, storage
Output: Verified sheets ready for cutting
Station 2: Cutting & Edge Preparation
Input: Full-size verified sheets
Process: CNC or manual cutting to panel dimensions
Output: Cut panels with clean, square edges
Station 3: Butt Welding of Panels
Input: Pre-cut panels
Process: Butt welding panels into walls and bottom sections
Output: Welded flat assemblies
Station 4: Bending of Corners
Input: Welded flat assemblies
Process: Heating and bending corner sections
Output: Three-dimensional tank wall sections
Station 5: Assembly & Detail Welding
Input: Bent wall sections + bottom panel
Process: Final assembly, corner joints, nozzle welding
Output: Completed tank shell
Station 6: Quality Testing & Shipment
Input: Completed tank shell
Process: Leak testing, dimensional check, surface finish
Output: Certified tank ready for delivery
Station 1: Material Receiving and Storage
Production quality starts before the first cut. Every HDPE sheet entering the workshop should be verified against three criteria:
- Material grade and certificate: Check that the delivery matches the purchase order — PE 80, PE 100, or PE 100-RC — and that the material certificate (ISO 9001 traceable) is included. Store certificates in a project file for each tank order.
- Sheet condition: Inspect for surface scratches, warpage (exceeding 2 mm over 1 meter requires rejection), and contamination. Damaged sheets produce weak welds.
- Storage conditions: Store sheets on clean, flat supports, protected from dirt, standing water, and prolonged UV exposure. Before welding, ensure the weld area is clean and dry.
Quality check point: Only sheets with verified grade, clean surfaces, and acceptable flatness proceed to Station 2.
Station 2: Cutting and Edge Preparation
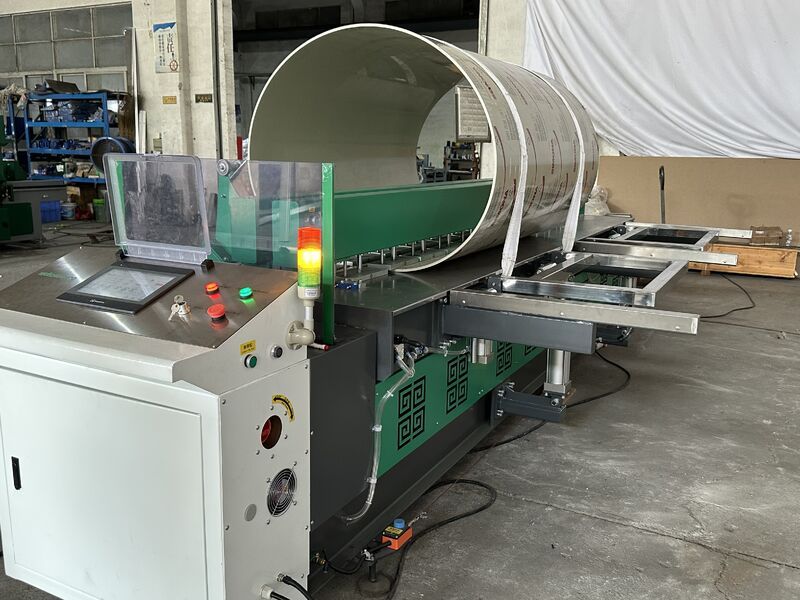
The cutting station prepares raw HDPE sheets into the precise panel dimensions needed for the tank design. Accuracy at this station directly affects the quality of downstream butt welding.
How production shops organize this station:
- CNC cutting machines are programmed with the full panel layout before the first cut. Nesting optimization minimizes material waste.
- All cutting parameters are standardized per sheet thickness: blade speed, feed rate, and cooling method are documented for each HDPE grade.
- Panels are clearly labeled with their position in the tank (e.g., "Front Wall Panel 1," "Bottom Section") immediately after cutting.
- Edge quality is checked before panels leave this station — the cut edge must be square to the sheet surface within ±1°, with no visible burrs or melt residue.
Quality check point: Approved panels have verified dimensions (±2 mm tolerance), square edges, and correct labeling. Rejected panels are returned for re-cutting or marked as scrap.
Station 3: Butt Welding of Panels
The butt welding station is the core of HDPE tank production. This is where individual panels are joined into larger wall sections and the bottom plate.
How production shops organize this station:
- The butt welding machine is set up with material-specific recipes. For detailed welding parameters per DVS 2207 — including heating plate temperature, pressure profiles, and cooling times for each sheet thickness — refer to our dedicated DVS 2207 compliance guide.
- The operator's role is loading, aligning, and starting the cycle. For shops that also work with PP, the same machine setup process applies with different parameters — see our PP butt welding procedure guide for those adjustments.
- A weld log is maintained for each seam: date, machine used, recipe selected, operator name, and visual inspection result. This traceability is critical for quality audits.
- For shops evaluating different butt welding machine types, our complete plastic sheet welding machine overview covers the range of available configurations from manual to full CNC automation.
Quality checkpoint: Every welded seam is visually inspected before the assembly moves to the next station. The weld bead should be uniform on both sides of the joint, with bead dimensions that conform to the applicable welding standard. Asymmetrical beads, discoloration, or visible porosity flag the seam for rework. Refer to our DVS 2207 quality checklist for detailed acceptance criteria.
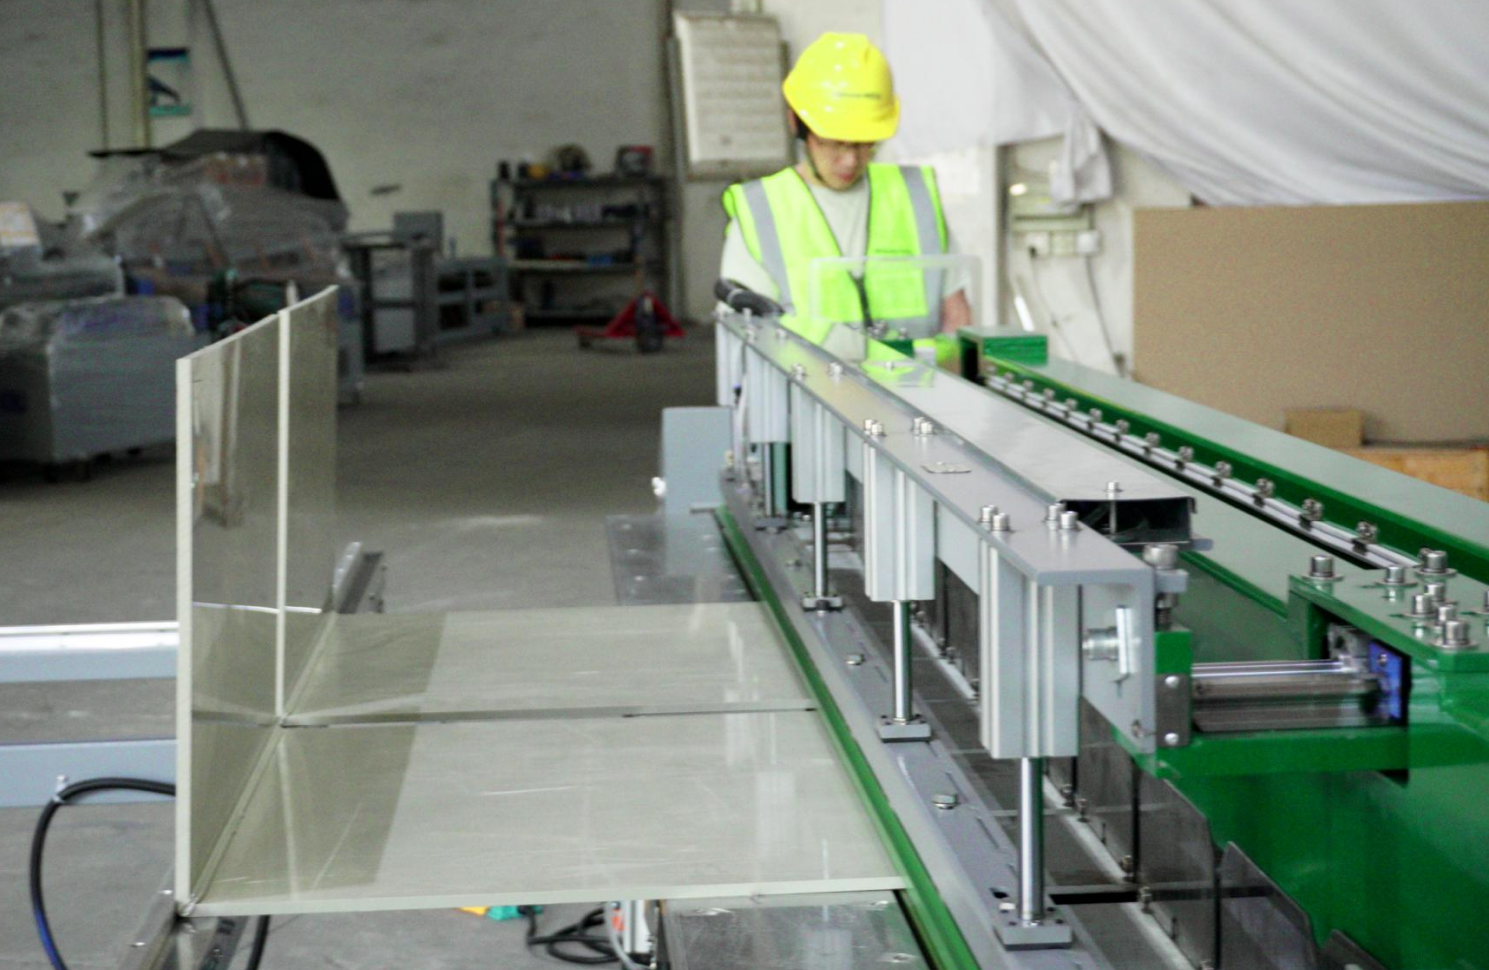
Station 4: Bending of Corners
Rectangular tank corners can be either welded or bent. Bent corners are preferred for chemical tanks because they eliminate a welded seam at the highest-stress point of the structure.
How the bending station works:
- The welded flat assembly is positioned on the bending machine with the bend line aligned to the heating bar. The operator sets the heating temperature (typically 150–170°C for HDPE) and the desired bend angle (usually 90° for rectangular tanks).
- The heating bar contacts the sheet along the full bend length. After a programmed heating period (typically 3–6 minutes depending on sheet thickness), the bending arm rotates to the target angle.
- The assembly is held in position until the material cools below 60°C — this prevents spring-back and ensures the corner angle stays within tolerance (±2°).
- For shops limited on floor space, a combined welding and bending machine can perform both operations at a single workstation, reducing material handling between stations.
Quality check point: The bent corner is checked with a square for angle accuracy. The bend line should show no surface cracking or whitening (which indicates overheating). The wall section should sit flat on the assembly table.
Station 5: Assembly and Detail Welding
At this station, the pre-welded and pre-bent wall sections are assembled with the bottom panel into the complete tank shell. Nozzles, flanges, and reinforcement ribs are also added here.
Assembly sequence matters: Professional shops follow a defined assembly sequence that minimizes residual stress:
- Position the bottom panel on the assembly table, leveled and supported across its full area.
- Mount the first wall section, align it to the bottom panel, and tack-weld at 300 mm intervals.
- Mount and align subsequent wall sections, checking squareness at each joint.
- Run full-perimeter butt welds at all bottom-to-wall and wall-to-wall joints.
- Cut and fit nozzle openings. Weld nozzles into position using extrusion welding — see our comparison of butt welding vs extrusion welding for guidance on when to use each method.
- Weld internal and external reinforcement ribs at calculated positions.
Quality check point: After assembly, the complete tank shell is measured for dimensional accuracy: height, width, and diagonal squareness. Nozzle positions are verified against the design drawing.
Station 6: Quality Testing and Shipment Preparation
The final station is where the tank is tested, documented, and prepared for delivery. The testing protocol depends on the tank's intended service and the applicable standards.
Common test methods used in production:
| Test | What It Checks | Used When | Pass Criteria |
|---|
| Visual inspection (100%) | Surface defects, bead uniformity, contamination | Every tank | No cracks, porosity, or visible defects on any weld |
| Air pressure test | Through-wall leaks | Atmospheric tanks | Hold test pressure for 10 min with no pressure drop |
| Hydrostatic test | Structural integrity under service pressure | Pressure-rated tanks | No leakage at 1.5× design pressure for 30 min |
| Dye penetrant test (spot check) | Surface-breaking cracks | Critical welds, first article of new design | No indications after developer application |
Documentation prepared at this station:
- Material certificates (linked to production batch)
- Weld log for each seam
- Test reports (air or hydrostatic pressure, with date and inspector signature)
- Dimensional inspection report
- Final inspection sign-off
For comprehensive information on weld testing standards and procedures, see our DVS 2207 quality checklist article.
How Consistency Is Maintained Across the Production Line
Producing the same quality tank day after day requires more than individual operator skill. It requires a system.
Standard Operating Procedures (SOPs)
Every station has a written SOP that defines: the process flow, the equipment setup parameters, the operator actions, the quality acceptance criteria, the defect response procedure. SOPs are posted at each station and reviewed quarterly.
Operator Training and Qualification
New operators follow a structured training program: classroom session on safety and theory (half day), supervised hands-on practice (2–3 days), qualification test welding (weld test coupons evaluated by destructive testing), and sign-off by the production supervisor. Operators are requalified annually. For shops transitioning between manual and CNC equipment, our CNC vs manual welder guide covers the training implications of each approach.
First-Article Inspection
For each new tank design or when switching to a new material batch, the first completed tank goes through an extended inspection protocol: all weld seams are checked with dye penetrant, test coupons are cut from a representative seam and tested destructively, and dimensional accuracy is verified against the design drawing. Only after the first article passes does production proceed to the full batch.
Cross-Station Quality Feedback
Quality issues found at Station 6 are traced back to the originating station. For example, if porosity is found in a finished tank, the investigation looks at: material storage conditions (Station 1), edge cleanliness (Station 2), weld parameter selection (Station 3), and operator technique. The root cause determines where the corrective action is applied. Contaminated welding surfaces, trapped dirt or oil, inadequate cleaning, excessive heating, or poor edge preparation are common causes of weld porosity — not the material itself.
Real Production Example: One of Our Customers
One of our customers, a medium-volume fabrication shop servicing water treatment chemical plants, produces eight 10,000-liter HDPE chemical storage tanks per month using a three-person team. Their setup follows the six-station workflow:
- Cutting and edge preparation using a CNC cutting machine — all panels for the month's orders cut in two days
- Butt welding using a CNC-controlled butt welding machine with recipe-based parameter selection — one operator runs all panel seams
- Corner bending on a dedicated bending machine
- Assembly and detail welding by a second operator using a hand extrusion welder for nozzle attachment
- Final testing and documentation managed by the production supervisor
Their experience: the consistent recipe-based workflow reduced weld rework from an estimated 8% to under 1% compared to their previous fully manual setup. The operator training period shortened from several weeks to a few days because the CNC machine automates the critical welding parameters. The first-article inspection protocol caught two material batch issues early, preventing rework on completed tanks.
Key metrics from this customer's operation:
- Production output: 8 tanks/month (10,000 L each)
- Team size: 3 people
- Typical lead time per tank: 2.5 working days
- Weld rework rate: under 1%
- On-time delivery rate: above 95%
Note: Actual production capacity and cycle times vary depending on tank design complexity, level of automation, material thickness, and workshop conditions. The figures above reflect one customer's specific setup and should not be taken as guaranteed performance benchmarks.
Equipment Configuration by Production Volume
The right production line configuration depends on your output target. Equipment scales with volume, and the choice between manual and automated stations follows a predictable pattern.
Low-Volume Workshop (1–3 tanks/month)
Typical configuration: Manual cutting tools, a butt welding machine sized for your largest tank panel, a bending machine, and a portable extrusion welder for detail work. One or two operators manage all stations sequentially. Each tank takes longer, but equipment investment stays low.
Key limitation: Production stops when the single operator is unavailable. Cross-training a second person is recommended.
Medium-Volume Shop (4–10 tanks/month)
Typical configuration: CNC cutting machine for consistent edge quality, a larger-capacity butt welding machine, a bending machine, a dedicated assembly station, and a higher-output extrusion welder. Stations operate in parallel — cutting prepares panels for the next job while welding runs on the current job.
Key advantage: Parallel workflow doubles throughput without doubling headcount.
High-Volume Production Line (10+ tanks/month)
Typical configuration: Full production line with dedicated operators per station, wide-format butt welding machine, CNC cutting, material handling systems (overhead crane or roller conveyor), and a dedicated quality testing area.
Key advantage: Consistent daily output — each station runs independently at its own pace.
Space-Constrained Workshop
Typical configuration: A combined welding and bending machine reduces the need for two separate workstations, saving 30–50% of floor space. Portable cutting solutions and a compact extrusion welder complete the setup.
Key advantage: All six process stations can fit within a smaller workshop footprint.
For specific equipment recommendations matched to your production volume, see our plastic sheet welding machine overview or contact our team for a production line consultation.
Common Production Issues and Preventive Measures
| Issue | Common Root Cause | Preventive Measure |
|---|
| Weld porosity | Contaminated welding surfaces, trapped dirt, oil residue, excessive heating, or poor edge preparation | ; verify heating temperature; inspect edge quality |
| Asymmetrical weld bead | Uneven clamping pressure, misaligned sheets | Check sheet alignment before heating; verify machine clamping force |
| Sheet warpage after welding | Insufficient cooling time, uneven heat distribution | Follow DVS cooling time recommendations; allow uniform cooling |
| Corner cracking after bending | Bending temperature too low, material too cold | Verify heating bar temperature with contact thermometer |
| Nozzle weld leakage | Incomplete fusion at nozzle-to-shell joint | Use extrusion welding with proper preheating |
Frequently Asked Questions
1. How many tanks can one production line manufacture per month?
For a single-station setup with one operator, expect 3–5 medium-sized tanks (5,000–10,000 L) per month. A parallel production line with dedicated operators per station can produce 10–15 tanks per month. The constraint is usually the butt welding station — cooling time cannot be shortened, so throughput is limited by how many weld cycles fit in a working day. Larger butt welding machines that weld longer panels in a single pass reduce the number of seams per tank, increasing daily output.
2. When should a fabricator upgrade from manual production to a dedicated production line?
The tipping point is typically around 3–4 tanks per month. Below this volume, a skilled operator with manual or semi-automatic equipment can handle production without dedicated line organization. Above this volume, the benefits of parallel workflow, CNC cutting, and automated welding become noticeable: reduced lead time, lower rework rates, and less dependency on individual operator skill. Many shops make the transition when they have consistent monthly orders and struggle to meet delivery deadlines with their current setup.
3. How long does it take to produce one HDPE tank from start to finish?
A 10,000-liter rectangular HDPE tank (15 mm wall thickness) typically takes 2–3 working days for a single operator: cutting (half day), butt welding panels (half day), bending corners (half day), assembly and detail welding (one day), testing and finishing (half day). Production time scales with tank size and complexity — larger tanks require more segments to weld and assemble.
4. Can one operator run multiple stations?
Yes, in low-volume shops one operator often manages cutting, welding, and assembly sequentially. In medium and high-volume shops, dedicated operators per station increase throughput significantly. The production flow becomes: cut all panels for one tank batch → weld all panel seams → bend all corners → assemble.
5. What is the most common quality problem in tank production?
Based on feedback from fabrication shops, weld porosity caused by contaminated welding surfaces is the most frequently reported issue. Common causes include dirt or oil on the sheet surface, inadequate edge cleaning, excessive heating temperature, or poor edge preparation. Implementing a simple "clean before weld" checklist at Station 3 eliminates most porosity problems.
6. How many operators are needed for a medium-volume tank shop?
A shop producing 4–8 tanks per month typically operates with 3–4 people: one for cutting and preparation, one for butt welding, one for bending and assembly, and one for testing and finishing. The team can be rotated to cross-train all operators across multiple stations.
7. Can the same production line handle both HDPE and PP tanks?
Yes, but it requires careful planning. HDPE and PP have different welding parameters — HDPE typically welds at 200–210°C while PP requires 180–190°C for the heating plate — and the machine setup must be adjusted between material batches. Many medium-volume shops run HDPE and PP tanks on the same line by batching: complete all HDPE orders for the week first, then switch to PP orders. This minimizes setup changeover time. For the specific PP welding procedure including temperature profiles and cooling times, see our PP butt welding procedure guide (DVS 2207-11).
From Process Planning to Quality Delivery
HDPE tank fabrication is not just about knowing how to weld plastic — it is about organizing a production line where each station feeds the next with consistent quality. The six-station workflow described in this guide provides a framework that scales from a one-person workshop to a multi-operator production facility.
If you are planning a new fabrication line or upgrading an existing one, contact the Weissenberg team for a production line consultation. We can help you design the station layout that fits your production volume, available space, and product range.
Explore more from the Plastic Sheet Welding Knowledge Hub: